


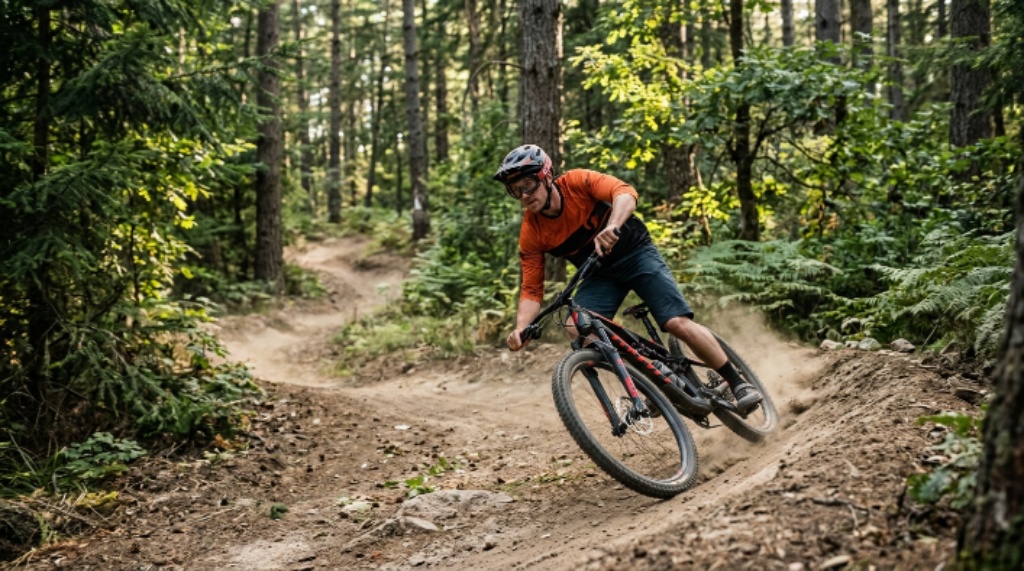
Improving mountain biking skills comes down to practicing four fundamentals: braking, cornering, climbing, and descending. Spend 20 to 30 focused minutes on skills practice twice weekly, then apply those movements on real trails. Consistent repetition builds control, confidence, and smoother reactions far faster than simply riding harder.
Mountain biking rewards riders who can manage traction, body position, momentum, and attention at the same time. Fitness helps you reach the top, but technical skill determines how confidently you handle difficult terrain. Therefore, the fastest progress usually comes from improving one movement at a time instead of trying to ride everything faster.
Start With Bike Control, Not Speed
Before working on steep trails, learn how your bike responds to small movements. Good handling begins when your body stays relaxed while your bike moves beneath you. This approach gives your tires better contact with uneven ground and lets you react without sudden movements.
Build A Strong Ready Position
Stand on the pedals with your knees and elbows slightly bent. Keep your heels slightly lowered, chest relaxed, eyes forward, and hands close to the brake levers.
Keep your weight centered rather than hanging heavily over either wheel. This position gives you room to absorb rocks, roots, dips, and sudden changes in terrain.
Practice this position on flat ground first. Ride slowly, then shift your hips backward and forward while keeping your arms relaxed.
Notice how the bike responds when you move your body. That awareness becomes extremely useful during braking, climbing, cornering, and descending.
Separate Your Body From The Bike
Your bike and body do not need to follow exactly the same path. Let the bike move underneath you while your upper body stays relatively stable.
For example, lean the bike into a corner while keeping your torso more upright. This technique helps maintain traction while giving the tires room to follow the terrain.
Practice riding slowly around cones or natural markers. Make wide circles, tight circles, and figure eights while keeping your eyes ahead.
Master Braking Before Riding Faster
Braking creates control, but poor braking can destroy traction. The goal involves controlling speed smoothly without locking either wheel.
Use both brakes progressively rather than grabbing the levers suddenly. The front brake provides substantial stopping power, while the rear brake helps manage speed and bike balance.
Practice Front And Rear Brake Control
Find a flat, quiet area with enough space to stop safely. Ride at a moderate speed and gradually squeeze both brake levers until you stop.
Repeat the exercise several times while changing your braking pressure. Notice how quickly the bike responds when you apply the brakes smoothly.
Then practice braking harder while keeping your body centered. Avoid throwing your weight backward because that can reduce front wheel traction.
Your fingers should remain relaxed around the levers. A controlled grip gives you better sensitivity and reduces unnecessary arm tension.
Brake Before Technical Sections
Look ahead and identify where you need to reduce speed. Slow down before reaching the corner, rock garden, drop, or steep section.
Once your speed matches the terrain, release some brake pressure. Rolling tires generally provide better traction than locked tires.
This principle becomes especially important before corners. Entering a turn at a manageable speed gives you more freedom to focus on your line.
Avoid Panic Braking
Panic braking usually happens when riders look too close to the front wheel. Their brains recognize an obstacle late, causing sudden braking and body movement.
Instead, scan several bike lengths ahead whenever the trail allows. Identify the next turn, obstacle, surface change, and likely riding line.
If you feel nervous, reduce speed earlier. Confidence grows when your decisions happen before the problem reaches your front wheel.
Improve Mountain Bike Cornering
Cornering combines vision, braking, body position, tire grip, and line choice. A rider can have excellent fitness yet lose control through poorly managed turns.
Start practicing on easy corners before attempting steep or loose turns. Build speed only after your movements become consistent.
Look Through The Turn
Your eyes should lead your body through the corner. Look toward the exit rather than staring at the obstacle or front tire.
Your head naturally guides your upper body toward the direction you want to travel. Therefore, looking through the corner helps you maintain a smoother line.
Pick your exit before entering the turn whenever possible. This simple habit reduces sudden steering corrections.
Control Your Outside Foot
Keep the outside pedal low through most flat or loose corners. Pressing through that foot helps create stability while the bike leans.
Keep the inside pedal higher to prevent pedal strikes. This position also gives you more room to move the bike underneath your body.
Practice this movement on gentle turns first. Then gradually introduce tighter corners and slightly higher speeds.
Use A Deliberate Line
Approach most corners from the outside when the trail permits it. Move toward the inside at the appropriate point, then open your line toward the exit.
This outside to inside to outside pattern can create a smoother arc. However, trail conditions should always determine your actual line.
Avoid copying a line simply because another rider used it. Rocks, roots, mud, braking bumps, and loose soil can change the safest route.
Release The Brakes Smoothly
Do most of your speed reduction before the corner. Entering with controlled speed allows your tires to focus more on turning.
If you need additional braking, apply gentle pressure rather than grabbing the lever. Sudden braking can upset the bike when traction already feels limited.
As your cornering improves, practice releasing the brakes earlier. Your goal should remain smooth control rather than maximum speed.
Climb With Traction And Momentum
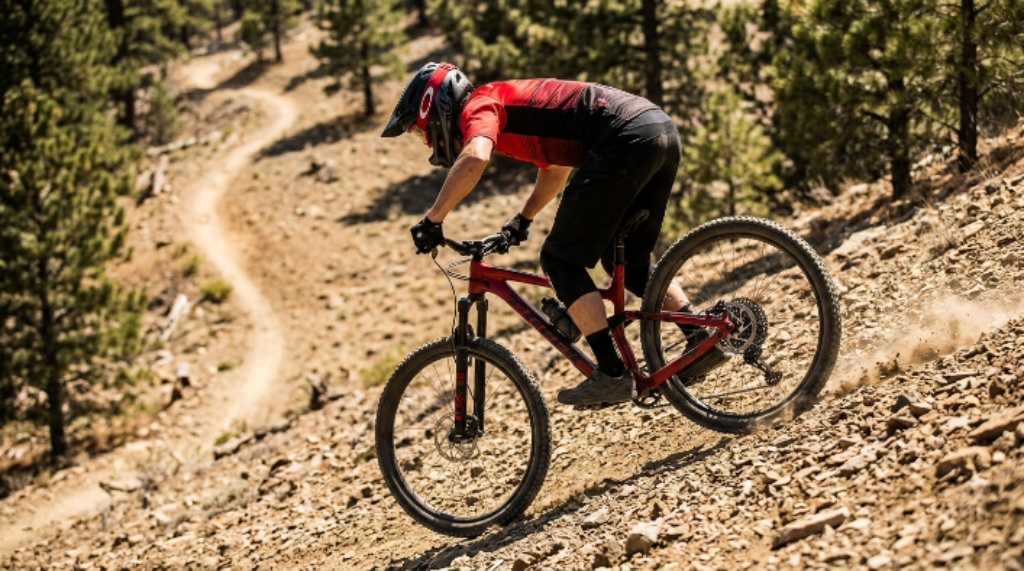
Strong climbing requires more than powerful legs. You need the right gear, steady cadence, balanced body position, and careful line selection.
Shift before the climb becomes too steep. Waiting until your legs struggle often makes shifting harder and interrupts momentum.
Find Your Efficient Gear
Use a gear that lets you pedal smoothly without excessive strain. Extremely easy gearing can encourage uncontrolled spinning on loose surfaces.
Conversely, a gear that feels too hard can reduce cadence and make technical obstacles harder to manage. Look for a middle ground that preserves steady momentum.
Shift before steep changes whenever possible. Predictive shifting keeps your pedaling rhythm stable.
Position Your Body For Steep Climbs
Move your hips slightly forward when the trail becomes steep. Keep your chest low and your elbows relaxed to maintain front wheel contact.
Avoid leaning too far forward because excessive front weight can reduce rear traction. Instead, make small body adjustments as the surface changes.
If your rear wheel spins, reduce pedal force briefly. Smooth pressure often creates more usable traction than aggressive stomping.
Approach Climbing Obstacles With Momentum
Look ahead and identify rocks, roots, ledges, and loose patches before reaching them. Then choose a line that allows your wheels to maintain momentum.
Avoid making major steering movements directly on top of an obstacle. Instead, guide the bike toward the preferred line before reaching it.
Keep pedaling through manageable obstacles. A steady pedal stroke helps prevent unnecessary loss of momentum.
Handle Uphill Switchbacks
Enter uphill switchbacks with enough momentum to maintain balance. Shift into an appropriate gear before the turn rather than during the tightest section.
Look toward the exit instead of staring at the front tire. Keep your body balanced while allowing the bike to follow the turn.
For especially tight turns, control your speed early. Then use smooth pedal pressure as you straighten toward the exit.
Descend With Control, Not Courage Alone
Descending improves when you control speed, vision, body position, and line choice. Simply trying to become braver can create unnecessary crashes and reinforce poor habits.
Start on terrain that feels challenging but manageable. Repeat the same section until your movements become predictable before progressing to steeper terrain.
Lower Your Center Of Gravity
Stand on the pedals with bent knees and elbows. Keep your body relaxed and allow the bike to move underneath you.
A dropper seatpost can create additional space for body movement on steeper terrain. Lower the saddle when appropriate for the trail and your riding style.
Avoid sitting heavily on the saddle during technical descents. Standing gives your legs more ability to absorb sudden impacts.
Look Farther Down The Trail
Your vision should constantly search for the next important feature. Look beyond the immediate rock to understand where your bike needs to travel afterward.
This habit gives you more time to react. It also reduces the tendency to make abrupt steering corrections.
Scan for changes in surface, corners, obstacles, and possible escape lines. Good riders often appear smooth because they make decisions earlier.
Manage Speed Before Corners
Reduce speed before entering a technical corner. Then release some brake pressure as you begin turning.
Avoid carrying excessive speed into a blind corner. You cannot react effectively to an obstacle that you have not yet seen.
If a descent feels overwhelming, stop safely and reassess the section. Walking a difficult feature can provide useful information without adding unnecessary risk.
Descend Technical Sections In Control
Keep your pedals level when appropriate for rough terrain. Allow your arms and legs to absorb movement instead of fighting every bump.
Stay loose while maintaining a stable connection with the bike. A rigid upper body can make impacts feel harsher and steering less predictable.
Break difficult sections into smaller decisions. Focus first on speed, then line, then the next obstacle rather than thinking about the entire descent.
Train Skills With Short, Focused Drills
Long rides develop endurance, but dedicated drills improve technical movement more efficiently. Set aside specific practice time instead of expecting every trail ride to teach every skill.
A useful session can include three to five repetitions of each drill. Stop increasing difficulty when technique starts breaking down.
Braking Drill
Ride toward a clearly marked stopping point. Apply both brakes progressively and aim for a controlled stop without skidding.
Repeat the drill from slightly different speeds. Focus on smooth lever pressure rather than stopping as quickly as possible.
Cornering Drill
Place several safe markers on an open area. Ride repeated circles while looking toward your exit and keeping your outside foot weighted.
Start slowly and make the turns increasingly tighter. Maintain control before adding speed.
Climbing Drill
Find a short incline with predictable terrain. Practice maintaining steady cadence while changing your body position slightly.
Repeat the climb several times. Focus on traction, smooth pedaling, and early gear changes.
Descending Drill
Use a short descent with a clear line and predictable surface. Practice controlling speed before the slope changes.
Repeat the section while improving your braking timing. Gradually reduce unnecessary braking as your confidence improves.
Improve Line Choice Through Observation
Strong riders rarely react randomly to terrain. They read the trail before reaching it and continually update their line as conditions change.
Watch how experienced riders approach technical sections. Pay attention to where they brake, where they release the brakes, and where they position their wheels.
However, do not copy speed without understanding technique. A skilled rider may have stronger fitness, different tires, different suspension settings, or greater experience.
After each ride, identify one section that felt difficult. Ask yourself whether braking, vision, body position, gearing, or line choice caused the problem.
That simple review turns every ride into a learning session. Over time, you will recognize patterns instead of treating every mistake as a separate problem.
Build Confidence Without Chasing Risk
Confidence should come from repeatable control, not from forcing yourself into frightening situations. Progress becomes safer when you increase only one difficulty factor at a time.
For example, keep the trail familiar while increasing speed slightly. Later, introduce a steeper section while keeping your speed conservative.
Do not measure improvement only through faster times. Better braking, cleaner lines, fewer corrections, and greater control also represent meaningful progress.
Ride within your current ability and wear appropriate protective equipment. Inspect your bike regularly, especially the brakes, tires, suspension, and controls.
A Simple Weekly Mountain Bike Skills Plan
You do not need a complicated training schedule to improve. Consistent short sessions can produce noticeable changes when you practice with a clear purpose.
Try this structure:
- Session one: Practice braking and body position for 20 minutes.
- Session two: Practice cornering and line selection for 20 to 30 minutes.
- Session three: Combine climbing and descending drills during an easy trail ride.
- Trail review: Identify one mistake and one successful movement after each ride.
Keep the difficulty controlled throughout each session. End practice when fatigue causes sloppy technique, because tired repetition can reinforce bad habits.
Common Mountain Biking Skill Mistakes
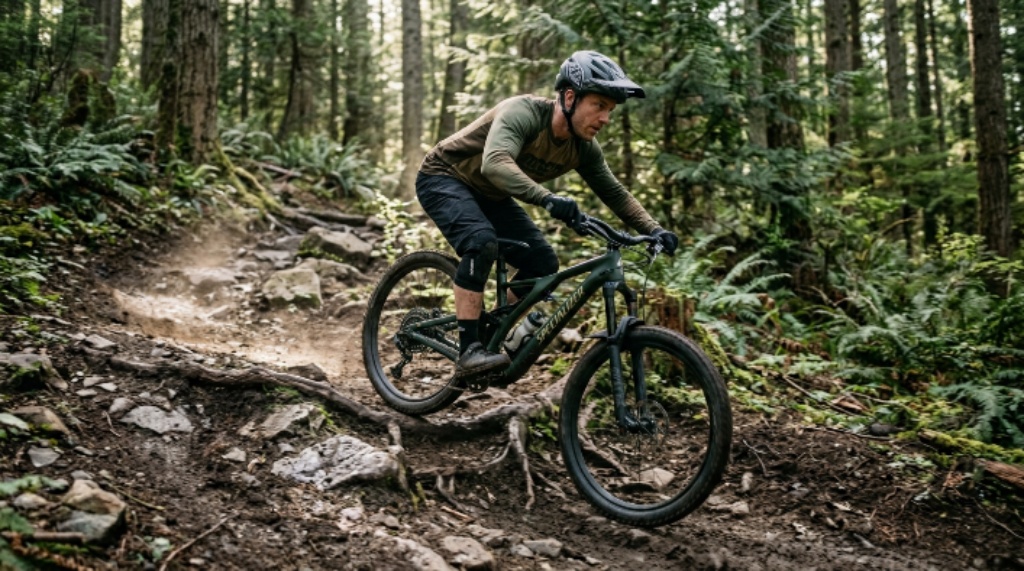
Many riders focus on speed before developing control. This approach often creates excessive braking, poor lines, tense arms, and inconsistent cornering.
Another common mistake involves staring directly at obstacles. Instead, look toward the route you want your bike to follow.
Some riders also remain seated during technical sections. Standing on the pedals gives your legs greater freedom to absorb terrain.
Finally, riders often practice everything during one ride. Separating skills into focused drills makes weaknesses easier to identify and correct.
How Long Does It Take To Improve Mountain Biking Skills?
Most riders notice meaningful improvement after several focused practice sessions. However, technical ability develops at different rates because terrain, experience, fitness, and confidence vary.
The key factor involves deliberate repetition. Practice a specific movement, evaluate the result, then repeat it with one small adjustment.
Avoid expecting one dramatic breakthrough. Mountain biking skills usually improve through many small corrections that eventually become automatic.
When Should You Consider Professional Coaching?
Consider coaching when you repeatedly struggle with the same technical movement. A skilled coach can identify body position problems that you may not notice yourself.
Coaching can also help riders who feel nervous on descents or struggle with technical climbs. A structured progression can make difficult skills feel much more manageable.
You do not need advanced racing ambitions to benefit from instruction. Better technique can make everyday trail riding safer, smoother, and more enjoyable.
FAQ
How Can I Improve My Mountain Biking Skills Quickly?
Practice braking, cornering, climbing, and descending separately through short sessions several times each week.
What Is The Most Important Mountain Biking Skill?
Bike control provides the foundation because it supports effective braking, cornering, climbing, and descending.
How Do I Get Better At Mountain Bike Descending?
Practice controlled descents while improving braking timing, body position, vision, and line selection.
How Do I Corner Faster On A Mountain Bike?
Brake before the corner, look toward the exit, weight the outside foot, and maintain a smooth line.
How Can I Climb Steep Trails Better?
Use an efficient gear, maintain steady pedal pressure, shift your body forward, and protect rear wheel traction.
Conclusion
Better mountain biking does not come from simply riding faster or tackling harder trails. It comes from controlling your bike deliberately through braking, cornering, climbing, and descending.
Start with short drills, repeat fundamental movements, and increase difficulty gradually. Most importantly, ride with a clear purpose and review your technique after every session.
Take your next ride and dedicate part of it to one specific skill. Build control first, then speed will follow naturally.

