

Picture this: you’re working on a DIY project, architectural model, or packaging prototype, and you need the lightweight convenience of cardboard with the structural integrity of wood. What if we told you that transforming flimsy cardboard into a wood-like material is not only possible but surprisingly straightforward? With the right techniques and materials, you can create incredibly durable cardboard structures that rival traditional wood construction while maintaining cost-effectiveness and environmental benefits.
Understanding Cardboard Structure and Limitations
Before diving into strengthening methods, it’s essential to understand why cardboard lacks the inherent strength of wood. Standard corrugated cardboard consists of a fluted inner layer sandwiched between two flat sheets, creating air pockets that make it lightweight but structurally weak when subjected to moisture, pressure, or weight.
The key to cardboard reinforcement lies in filling these voids, creating chemical bonds, and adding supportive layers that mimic wood’s dense fiber structure. By addressing these fundamental weaknesses, you can achieve remarkable improvements in durability and load-bearing capacity.
Method 1: Epoxy Resin Reinforcement
Epoxy resin stands as one of the most effective solutions for cardboard hardening, creating a composite material that approaches wood-like properties.
Materials Needed:
- Two-part epoxy resin
- Foam brush or roller
- Disposable gloves
- Ventilated workspace
- Fine-grit sandpaper
Step-by-Step Process:
Preparation: Ensure your cardboard surface is clean and dry. Remove any tape, labels, or debris that might interfere with adhesion. Work in a well-ventilated area and wear protective equipment.
Mixing: Follow manufacturer instructions for mixing epoxy resin and hardener. Typically, this involves a 2:1 or 1:1 ratio depending on the product. Mix thoroughly to avoid weak spots in the final coating.
Application: Apply the first thin coat using smooth, even strokes. Allow the resin to penetrate the cardboard fibers completely. The initial coat will likely be absorbed quickly by the porous material.
Multiple Coats: Apply 2-3 additional coats, allowing each to cure according to manufacturer specifications. This layering process creates the density necessary for wood-like strength.
Finishing: Once fully cured, sand lightly with fine-grit paper to achieve desired smoothness. The result is a hard, durable surface that can withstand significant stress and moisture.
Method 2: Fiberglass Cloth Lamination
For projects requiring maximum strength, fiberglass cloth lamination transforms cardboard into an extremely robust material.
Materials Required:
- Fiberglass cloth or mat
- Polyester or epoxy resin
- Hardener
- Acetone for cleanup
- Scissors for cutting cloth
Application Technique:
Cut fiberglass cloth to cover your cardboard surface with slight overlap. Apply resin to the cardboard, lay the cloth smoothly to avoid air bubbles, then saturate with additional resin. Multiple layers create increasingly strong composites, with each layer adding structural integrity.
The curing process typically takes 24-48 hours, resulting in a material that exceeds many wood products in terms of strength-to-weight ratio and moisture resistance.
Method 3: ModPodge and Paper Layering
For lighter applications where extreme strength isn’t required, ModPodge combined with paper layering offers an accessible strengthening solution.
Process Overview:
Apply ModPodge liberally to cardboard surfaces, then layer additional paper sheets, pressing out air bubbles. Repeat this process 5-10 times, allowing each layer to dry completely. This technique creates a harder surface while maintaining workability with standard tools.
While not achieving the same strength as resin methods, this approach significantly improves cardboard’s structural properties and provides excellent paint adhesion for finishing work.
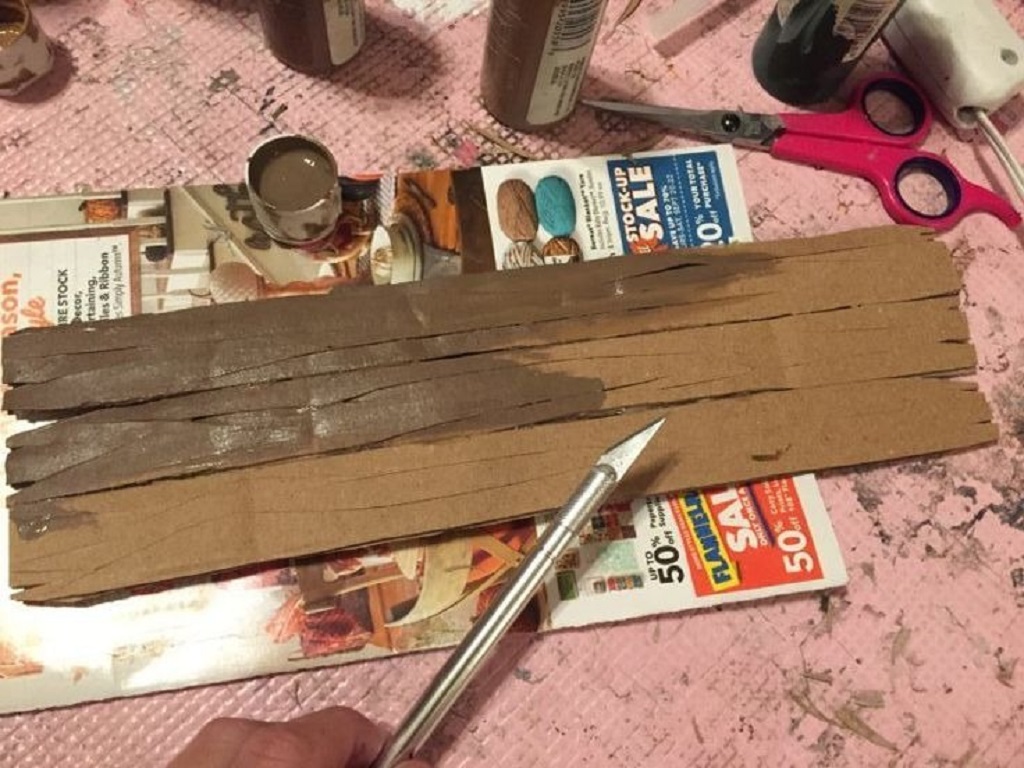
Method 4: Wood Glue Saturation
Wood glue penetration creates chemical bonds within cardboard fibers, dramatically increasing strength and rigidity.
Application Method:
Dilute wood glue with water (approximately 3:1 ratio) to improve penetration. Apply multiple coats, allowing complete absorption between applications. This method works particularly well for corrugated cardboard, as the glue fills hollow spaces and bonds the internal structure.
The drying process requires patience—typically 24-48 hours for full cure—but results in significantly improved load-bearing capacity and resistance to deformation.
Method 5: Shellac Treatment
Shellac provides both hardening and moisture protection, making it ideal for decorative applications requiring wood-like appearance.
Application Process:
Apply thin, even coats of shellac using natural bristle brushes. Sand lightly between coats with fine-grit paper. Three to four coats typically provide optimal hardening while maintaining surface smoothness suitable for painting or staining.
Shellac’s fast-drying properties make this method efficient for time-sensitive projects, though it may not achieve the extreme strength of resin-based approaches.
Combining Methods for Maximum Strength
Advanced projects often benefit from combining multiple strengthening techniques. For example, initial wood glue saturation followed by epoxy coating creates exceptional durability. Similarly, fiberglass reinforcement over ModPodge-treated surfaces provides both strength and smooth finishing characteristics.
Environmental Considerations and Safety
When working with chemical hardeners, proper ventilation and protective equipment are essential. Many strengthening materials produce fumes during application and curing, requiring outdoor work or exhaust ventilation systems.
Consider environmental impact when selecting methods. Water-based treatments like ModPodge and wood glue offer more eco-friendly alternatives to solvent-based products, though they may not achieve the same performance levels.
Cost Analysis and Project Planning
Budget considerations often influence method selection. Wood glue and ModPodge treatments cost significantly less than epoxy systems, making them attractive for large-scale projects or educational applications. However, the superior performance of resin-based methods may justify higher costs for critical structural components.
Calculate material requirements carefully, as coverage rates vary significantly between products. Thin materials like shellac cover large areas efficiently, while thick epoxy applications require more product per square foot.
Troubleshooting Common Issues
Warping: Prevent by applying treatments to both sides of cardboard sheets and using proper drying techniques with adequate air circulation.
Bubbling: Avoid by ensuring clean, dry surfaces and removing air during application. Work in sections to maintain control over the process.
Incomplete Curing: Follow temperature and humidity guidelines strictly. Cold or humid conditions significantly extend cure times and may prevent proper hardening.
Applications and Project Ideas
Hardened cardboard finds applications in architectural modeling, furniture prototyping, theatrical props, packaging inserts, and educational projects. The ability to cut, shape, and join cardboard before hardening makes it ideal for complex geometries difficult to achieve with traditional wood construction.
Consider the specific requirements of your project when selecting strengthening methods. Decorative items may only need moderate hardening, while structural components require maximum strength treatments.
Related Topic: Sustainable Roofing Solutions in Houston
Ready to Transform Your Next Project?
The techniques outlined in this guide open up countless possibilities for creative and practical applications. Whether you’re building architectural models, creating custom packaging, or developing prototypes, hardened cardboard offers an excellent alternative to traditional materials.
Start with a small test piece using your chosen method to perfect your technique before tackling larger projects. Document your process and results to refine your approach for future applications.
Take action today: gather your materials, select the method that best fits your project requirements, and begin transforming ordinary cardboard into extraordinary building material. Share your results and experiences in the comments below—your insights could help fellow makers achieve even better results in their projects